How to Change Camera Settings on iPhone for Selfie
Welcome to the world of selfies, where capturing the perfect shot is a daily pursuit! Whether you’re an avid Instagrammer or just love snapping fun photos with friends, mastering your iPhone camera settings for selfies can take your self-portraits to a whole new level. No more blurry shots or awkward angles—it’s time to unlock the true potential of your selfie game!
We’ll guide you through some nifty tricks and settings that will transform your iPhone into the ultimate selfie machine. From cleaning your camera lens to adjusting the aperture for better results, we’ve got you covered. So grab your best smile and let’s dive into how to change camera settings on an iPhone for stunning selfies!
Clean the iPhone Camera Lens
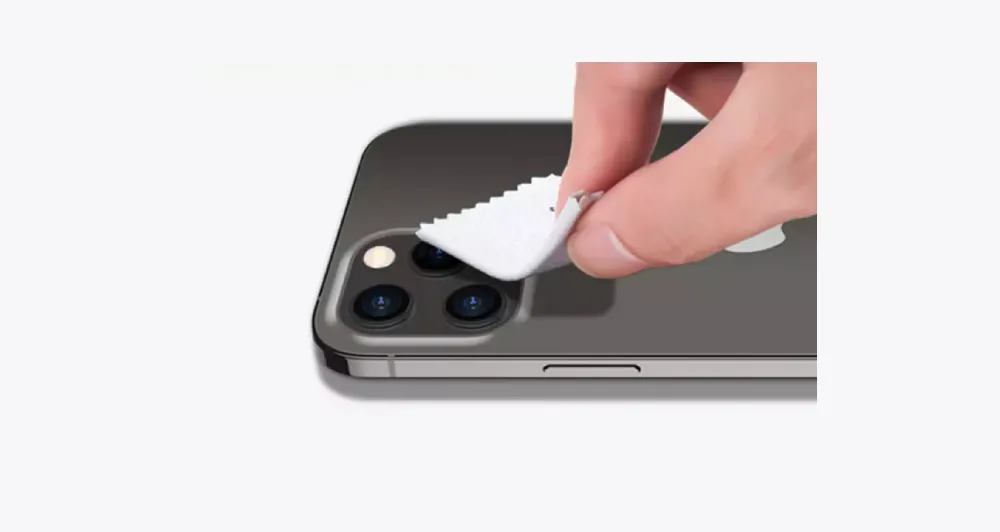
To start your selfie journey, let’s focus on the basics—cleaning the iPhone camera lens. It may sound obvious, but a dirty lens can seriously hinder your photo quality. Those smudges and fingerprints can blur your shots and leave you feeling frustrated. So, grab a soft microfiber cloth or a lens cleaning solution to give it a gentle wipe before snapping away.
But wait, there’s more! Don’t forget to check for any dust or debris that might have found its way into the tiny crevices around the lens. A quick puff of air or using a small brush will do wonders in keeping things crystal clear.
Now that your camera is squeaky clean, prepare yourself for picture-perfect selfies like never before! Remember, taking care of your equipment ensures optimal performance and helps you capture moments with clarity and precision. So take that extra minute to give your iPhone camera some TLC—you’ll thank yourself later when those stunning self-portraits start rolling in!
Choose the Right Background and Lighting
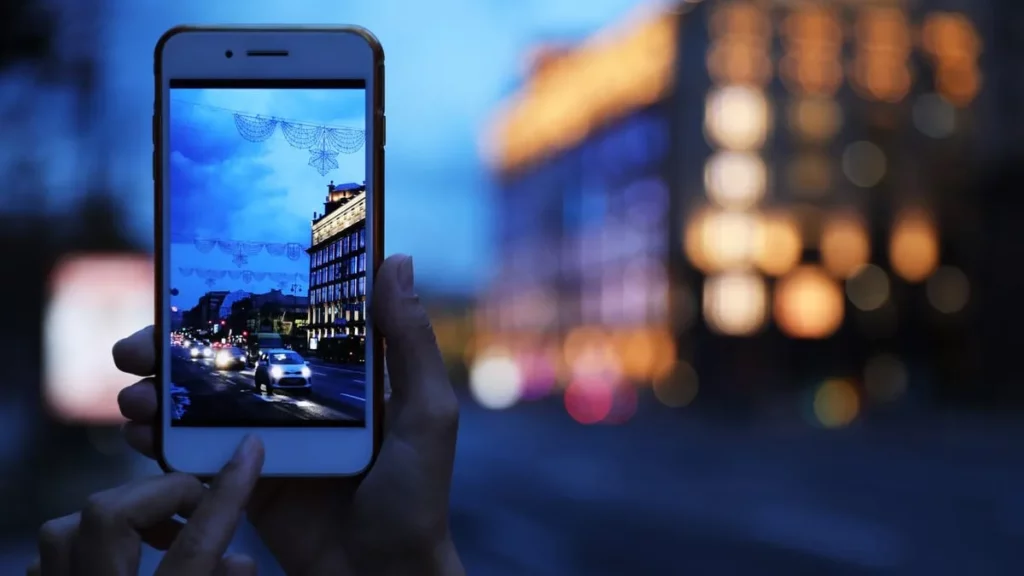
One of the key factors in taking a great selfie is choosing the right background and lighting. It can make all the difference in how your photo turns out! So, let’s dive into some tips on how to nail this aspect of your selfies.
Consider the background. A cluttered or busy background can be distracting and take away from the focus of your selfie—you! Opt for a clean and simple backdrop that complements your style or personality. This could be a plain wall, a scenic outdoor location, or even just arranging items neatly behind you.
Next up is lighting. Good lighting can instantly enhance your selfie game. Natural light is often best as it provides a soft and flattering glow. Try positioning yourself near a window or going outside during the golden hour—that magical time before sunset when everything has a warm and dreamy hue.
Don’t be afraid to experiment with different angles and perspectives to find what works best for you. Sometimes, changing the angle slightly or tilting your head can add an interesting touch to your selfies. Remember, there are no rules here; it’s all about finding what makes you feel confident and captures your unique beauty!
So next time you’re getting ready for that perfect selfie moment, remember to choose wisely when it comes to backgrounds and lighting—they can truly transform an ordinary photo into something extraordinary!
Use the Grid for Better Compositions
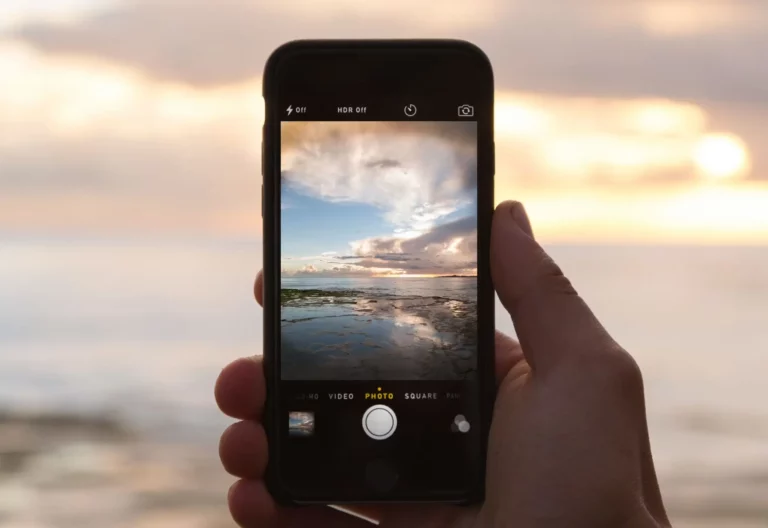
When it comes to taking a great selfie, composition is key. One simple yet effective tool that can help you achieve better compositions is the grid feature on your iPhone camera.
The grid consists of vertical and horizontal lines that divide your screen into thirds, creating nine equal squares. By aligning your subject with these lines or placing key elements at their intersections, you can create more balanced and visually appealing selfies.
Not only does the grid help with composition, but it also assists in keeping horizons straight and avoiding tilted or crooked photos. So next time you snap a selfie, don’t forget to turn on the grid for better compositions!
Experiment with the Back Camera
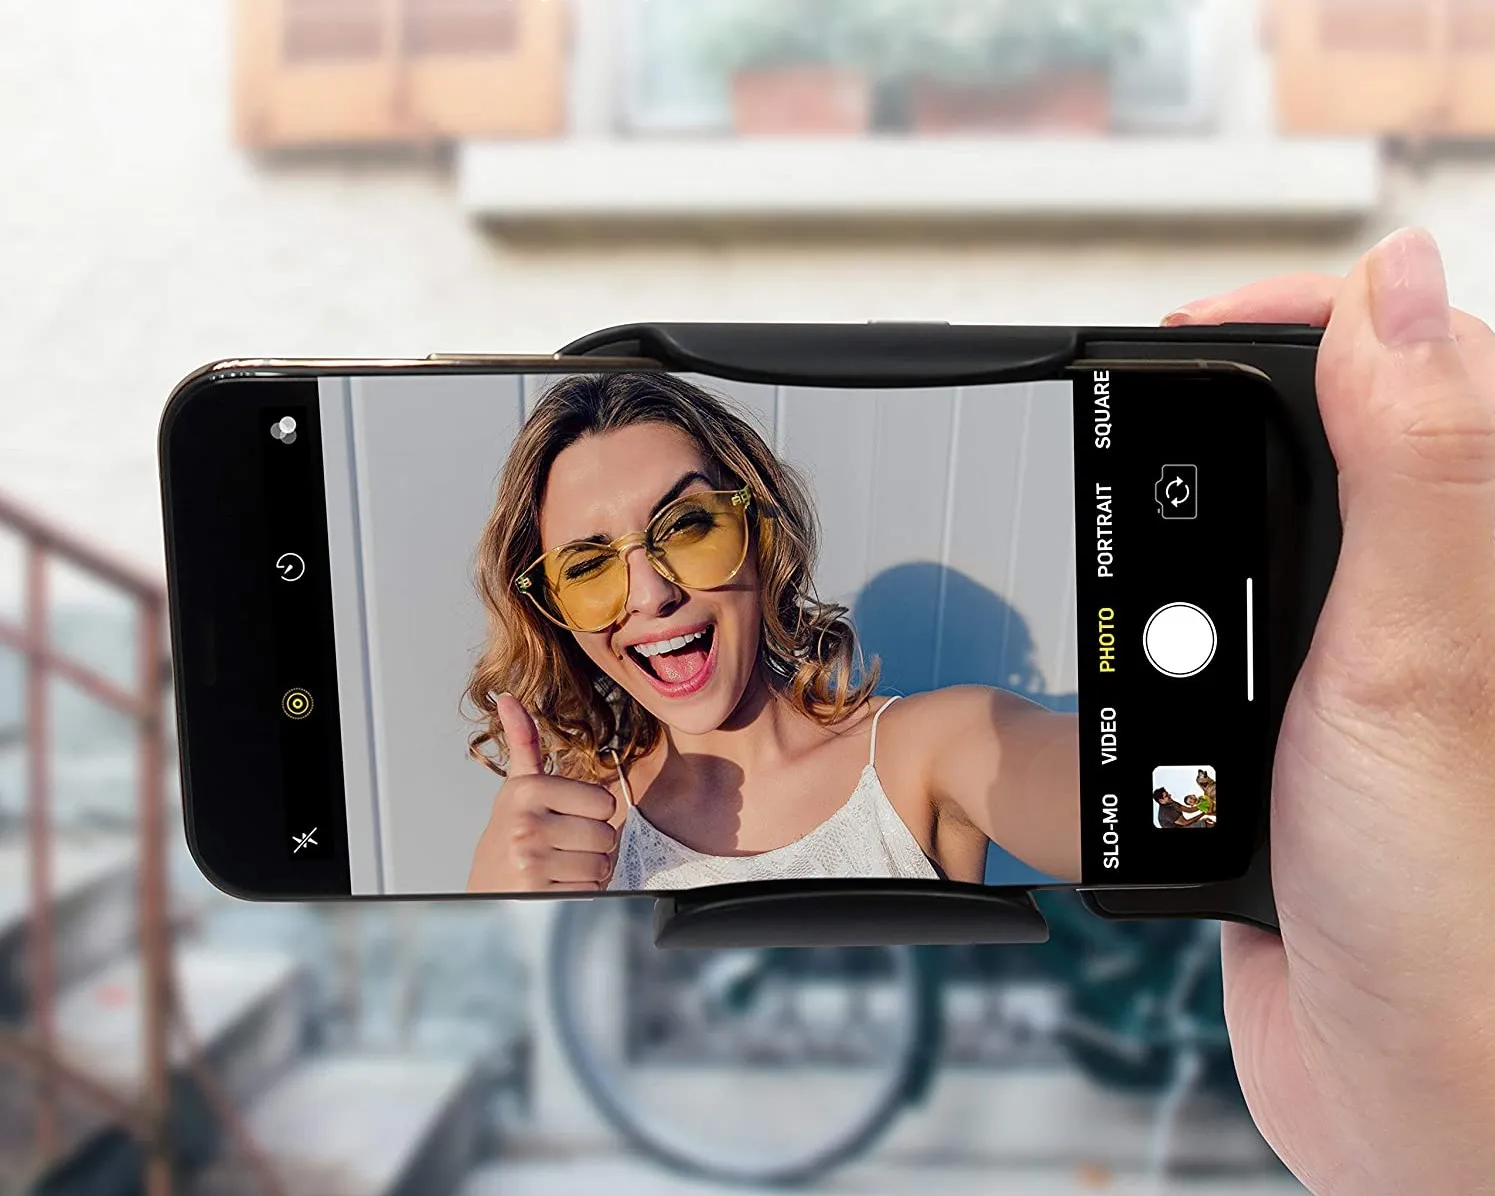
When it comes to taking selfies, most of us automatically reach for the front camera on our iPhones. But have you ever considered experimenting with the back camera? It may seem counterintuitive, but using the rear-facing camera can produce some stunning selfie shots.
Why should you give it a try? Well, for starters, the back camera typically has a higher resolution and better image quality than the front-facing one. This means that your selfies will come out sharper and more detailed. Plus, using the back camera allows you to take advantage of additional features like portrait mode or telephoto lenses if your iPhone model supports them.
Another benefit of using the back camera is that it gives you more control over your composition. Since you’re not looking directly at yourself while taking a photo, you can experiment with different angles and perspectives. You can also include more elements in your shot by extending your arm or using a selfie stick.
So next time you want to snap a selfie, don’t be afraid to switch things up and use the back camera instead. You might be pleasantly surprised by how much better your photos turn out! So go ahead and explore this often-overlooked feature on your iPhone—who knows what amazing results await you!
Reduce Camera Shake with Earphones or Earbuds
Did you ever notice that your selfies sometimes come out blurry or shaky? It’s frustrating when you want to capture a perfect shot, but your hand just can’t seem to stay steady. Luckily, there’s a simple trick that can help reduce camera shake and improve the quality of your self-portraits.
One way to stabilize your iPhone while taking selfies is by using earphones or earbuds as a remote shutter release. Simply plug in the headphones and use the volume button on the cord as a trigger for capturing photos. This allows you to hold your iPhone with both hands, providing better stability and reducing the chances of camera shaking.
By using earphones or earbuds as a remote shutter release, you no longer have to worry about accidentally shaking the phone while pressing the on-screen shutter button. You can comfortably position yourself in front of the camera without any unnecessary movements. You have more control over framing and composition thanks to this technique, which also helps to eliminate blur from shaky hands.
So next time you’re ready for an awesome selfie session, remember to grab your trusty pair of earphones or earbuds! Although it might seem like a minor adjustment, it can significantly improve the quality of your self-portraits by eliminating any unwelcome camera shake blurriness. Give it a try and see how much improvement this simple trick brings to your selfie game!
Turn on Mirror Image
Turning on the mirror image feature on your iPhone can make a world of difference when it comes to taking selfies. Instead of seeing a reversed version of yourself, you’ll see an image that accurately reflects how others see you. This makes it easier to pose and ensure that everything is in the right place.
To turn on Mirror Image, simply open the Camera app and tap on the little flip icon in the top-right corner of the screen. Once enabled, you’ll notice that any text or numbers shown in your photo will appear correctly instead of backward.
By using Mirror Image, you can avoid any confusion and present yourself exactly as intended in your selfies. It’s a small adjustment that can have a big impact on your photos!
Adjust Aperture for Better Selfies
Adjusting the aperture on your iPhone can make a significant difference in the quality of your selfies. By controlling the depth of field, you can achieve a beautiful blurred background or keep everything in focus. This setting is especially useful when you want to highlight yourself while minimizing distractions.
To adjust the aperture, simply tap on your face in the camera app and hold until you see a yellow box appear. Then, slide your finger up or down to increase or decrease the exposure level. Experiment with different settings to find what works best for each selfie.
Remember, capturing stunning selfies requires practice and patience. Use these tips and tricks to enhance your iPhone camera settings for incredible self-portraits that will leave everyone amazed! So go ahead, grab your iPhone, strike a pose, and let those amazing selfies shine! Happy snapping!
Now that you know how to change camera settings on an iPhone for better selfies, it’s time to put this knowledge into action! Get out there and start snapping some incredible self-portraits using these techniques. With clean lenses, proper lighting and backgrounds, and grid assistance for composition,
Using both front and back cameras effectively while reducing shake with earphones or earbuds. There’s no limit to what kinds of fabulous photos you can take every time with confidence! So get ready to take some amazing selfies with your trusty iPhone by following these simple yet effective tips.
Remember: Practice makes perfect when it comes to taking great pictures, so don’t be discouraged if at first things don’t turn out the way you want them to. Keep trying and experimenting with different settings and techniques, and before long, you’ll be taking selfies like a pro!
It turned out exactly as planned. In the end, individuality shining through the lens is the key component of any successful photo endeavor. Thanks in large part to the diligent work spent honing my craft over a year-long journey toward mastery within the art form known widely today simply as “photography.” So keep experimenting until you find what works best for your personal style preference.
