How to Change the Apple ID on iPhone Without Password?
There is no such thing as being shy about buying a second-hand Apple phone. Sometimes, people don’t consider removing their Apple ID account when selling their iPhones. Then the new owner gets stuck with the previous owner’s Apple ID. It gets even more difficult for the new owner because he doesn’t know the password.
But if you reach a point where you find yourself unable to remove the AppleID and don’t know how to change the Apple ID on an iPhone without a Password, then here are some of the easy methods of changing the Apple ID on an iPhone without a Password.
Methods to Change Apple ID on iPhone Without Password
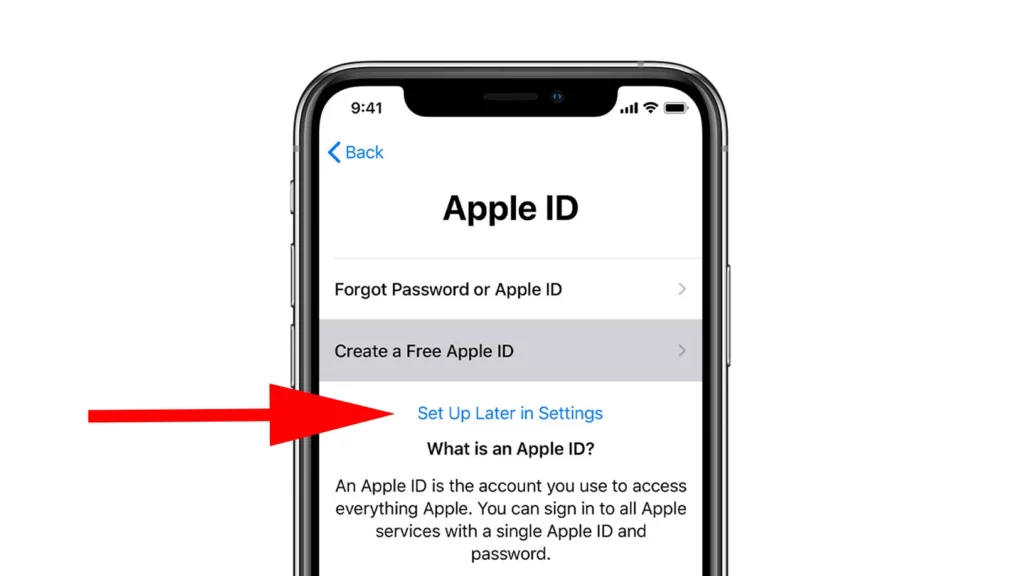
There are many methods for iOS devices like iPhones and iPad to change their Apple ID without a Password. To change an AppleID on an iPhone, you must first remove the existing ID and then create a new one or add yours.
Method no 1: By Deactivating Apple ID from Devices
You cannot technically delete an AppleID, but you can change it on your iPhone without a Password and disassociate from your iPhone or deactivate it.
The Steps for deactivating an Apple ID from MAC are as follows.
- Firstly, you must sign out of the iCloud Account synced to your Mac, which is when you connect your iPhone to your Mac. It will make all the data like Mail, Calendar, Contacts, and Photos unavailable to the Mac as it will not be connected.
- Now, you have to open the System Preferences on your MacBook. You can also do so by Clicking on the Apple icon on the Menu panel.
- Now, you need to open iCloud and click on Sign Out.
- After that, what you need to do is to sign out from iTunes and deauthorize your computer.
- Now, launch iTunes at the top control panel, choose “Store,” and tap “Deauthorized this Computer,” after which you can continue signing out.
Process of Deactivating the Apple ID from your iPhone
All the steps are easy to follow.
- Firstly, open your settings and then go to the option of apps and then choose & iTunes Store.
- Once you see the option of AppleID, click on it.
- Then you will see the option to Sign Out.
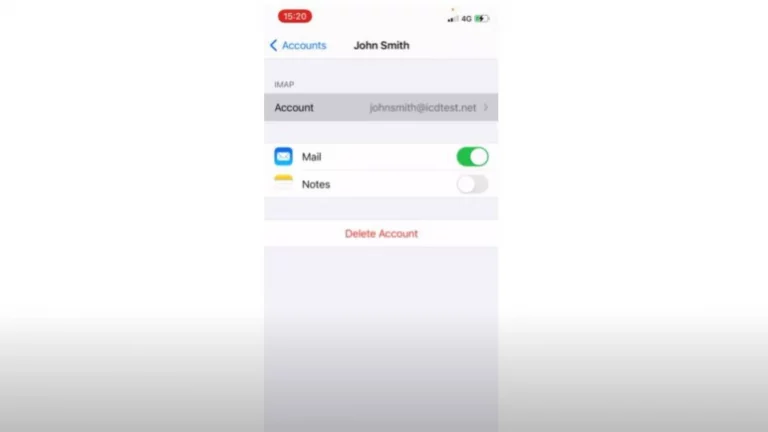
- Right after that, you need to go to the settings, then you also need to go to the iCloud option, and at the bottom, you will see the option to sign out.
- Now, sign out, and you are all done,
- You can now add up the AppleID you want and create a new one.
- Don’t forget to secure all the data.
Method no 2: Change Apple ID with Settings
Another excellent method is to change AppleID with Settings. All you must do is follow the following steps to reset your AppleID, you can remove the Apple ID if you forgot your Apple ID password or if the owner hasn’t logged out of it.
- Firstly, open settings and then go to iCloud. Then, in typing passwords, you must type anything random and click done.
- Now, then you will see the option of incorrect Password. You have to click ok and then done.
- Open your Account again on the main panel available for your iCloud page. Now, remove the description and then click on “Done.”
- After doing that, you will see that the iCloud page on your iPhone will not ask you to enter a password and that the “Find My iPhone” option will be turned off.
- Now, to delete the previous ID, scroll down.
- After deleting, enter your new ID.
By Removing Apple ID Using iOS Unlocked
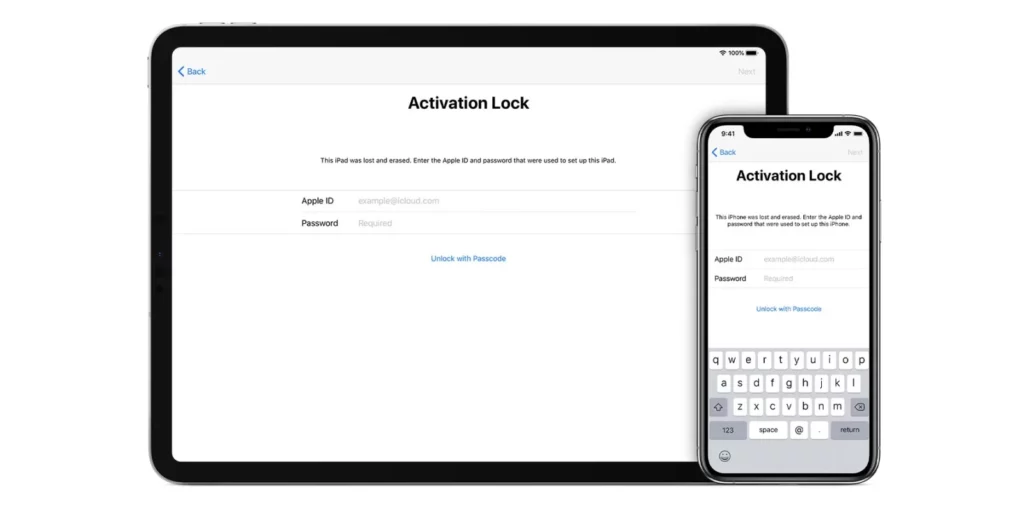
If all the processes mentioned above are not working, you will need software to help you change the Apple ID without a Password. Professional software is recommended in such cases. IOS Unlocked is an excellent choice for quickly removing the AppleID without hassle. You can use it with both macOS and Windows computers as well. Here are further details step by step. The whole process is straightforward, and you can do it without difficulty.
- Firstly, what you also need to do is to download the software to your computer.
- Now, connect your device or iPhone to the computer using the original USB cable that also came with the device.
- To start the removal process, you have to click the Start button.
- After confirming the information about the device, you can begin the removal process.
- Confirm the device information and also remove the AppleID.
Remove Apple ID with iTunes
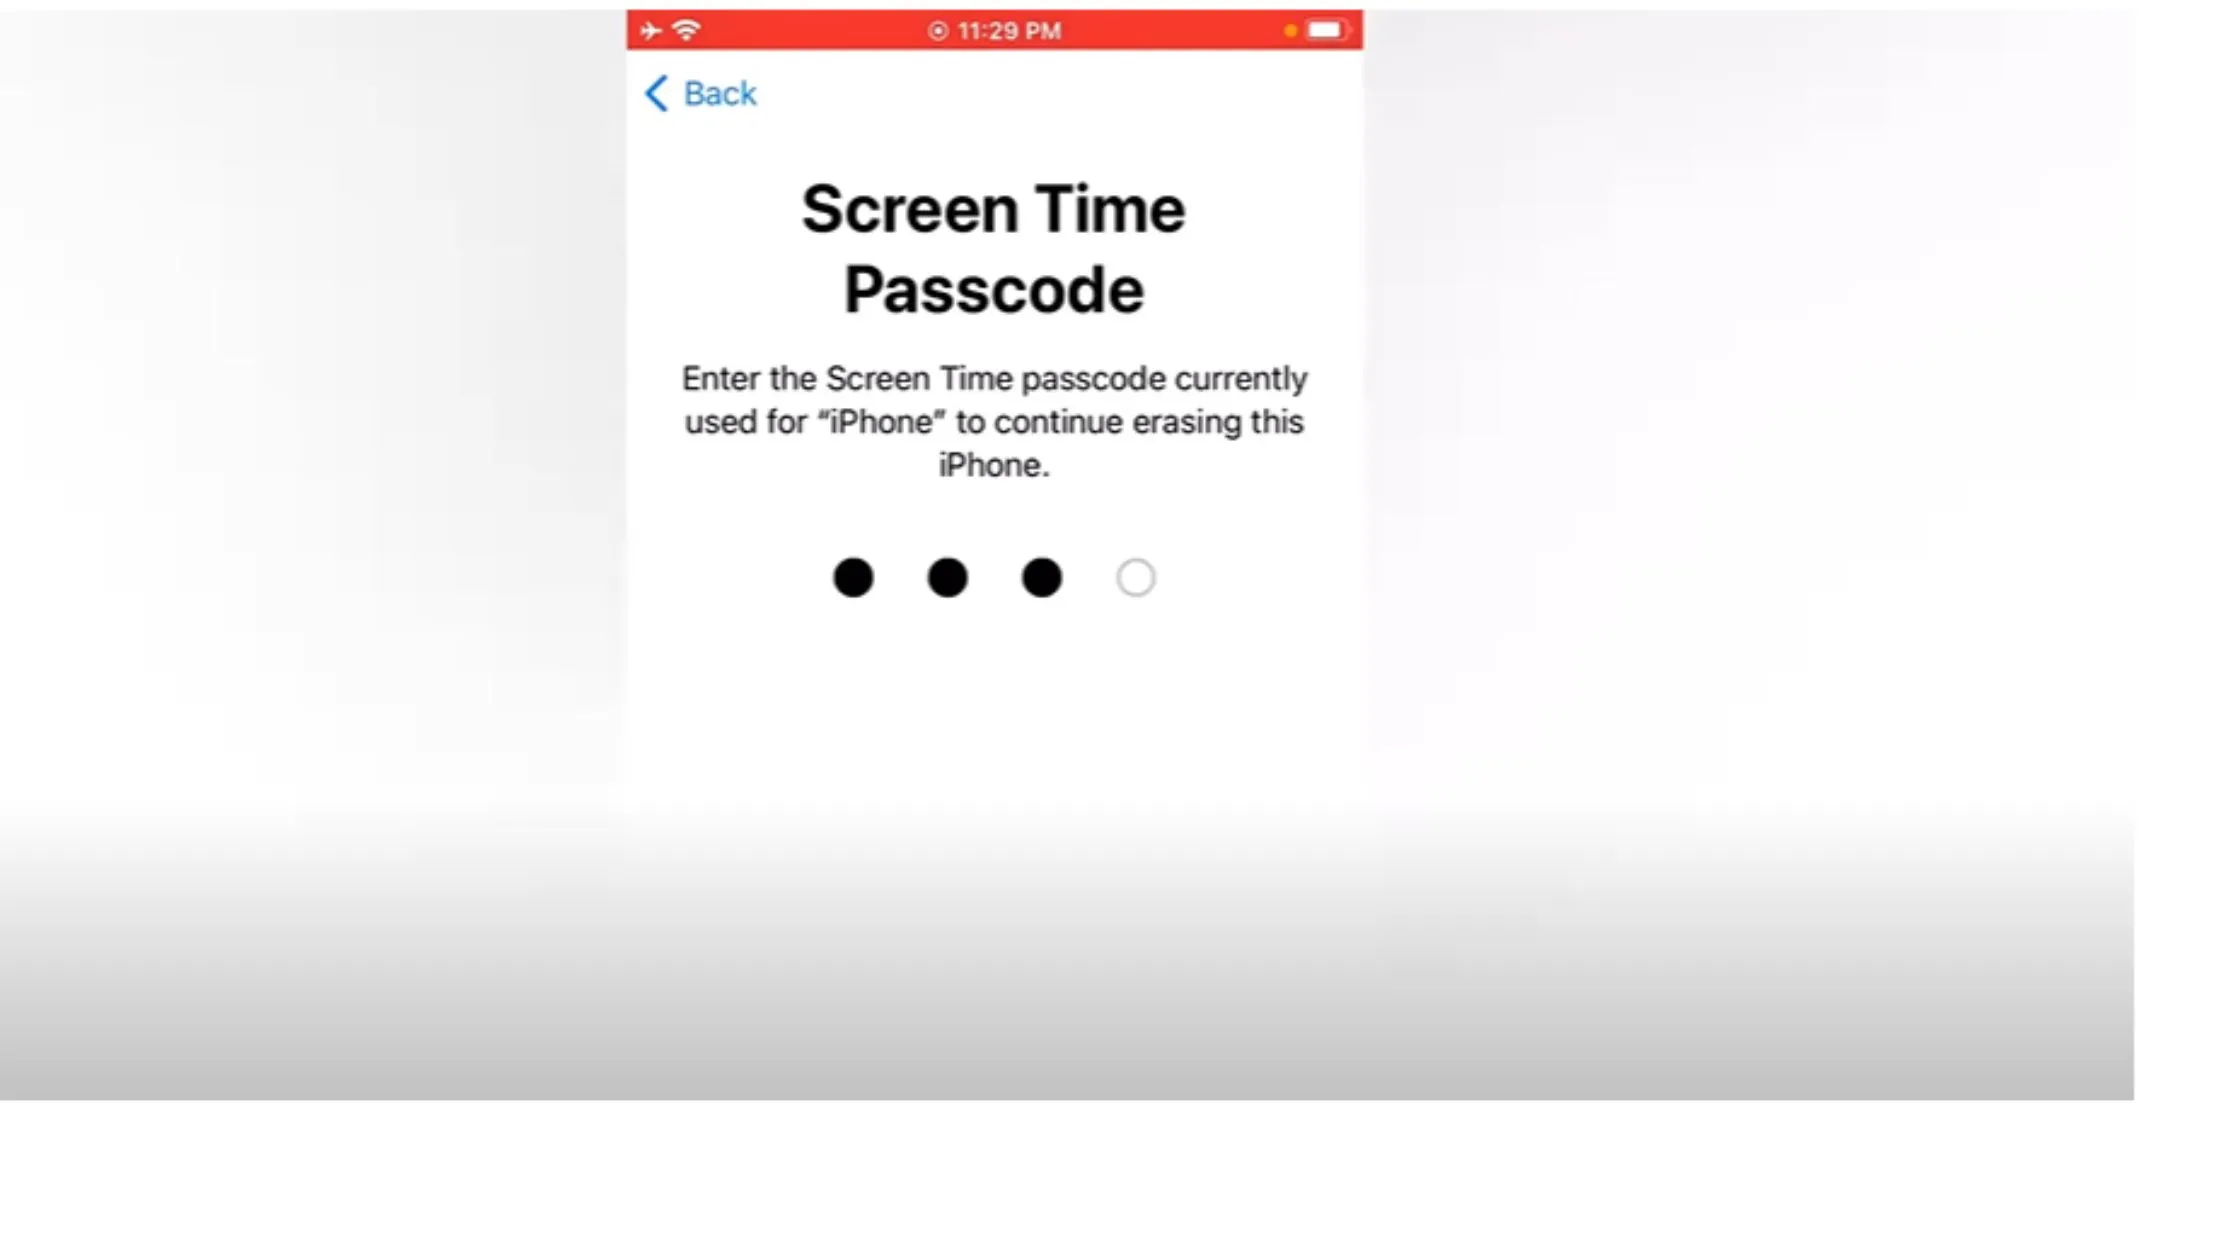
If you don’t know the password of the existing AppleID, then you can change the Apple ID from the iPhone using the iTunes app store. One of the prominent warnings about doing this process is that you might lose some of the data or all of it, and you can also get stuck in recovery mode if the phone is old. You have to follow the following steps.
- Firstly, switch off your iPhone.
- Now connect it to your computer, and make sure you use the original USB cable with the device.
- After connecting the two devices, you must hold the home button until you see the Apple logo. You can wait for the instructions to pass on to restore your iPhone. So, before you do this process, you need to perform a local backup to secure your data.
- Then you can remove the previous one and add yours in replacement.
Final Verdict
Suppose you were looking for the best ways to change your Apple ID on your iPhone without a Password. Then all the best possible methods are mentioned above. You have to follow them step by step, and you can easily change the Apple ID without difficulty.
Frequently Asked Questions
Here are also some of the frequently asked questions.
Is It Legal To Change An Apple ID Without A Password?
Yes, it is legal to remove an Apple ID without a assword.
Which Is The Best Way To Change An Apple ID Without A Password?
The best way is to do it by using the settings because that is how you are not compromising the security of your iPhone.
Can I Unlock Apple ID from My iPhone Without a Password?
Yes, you indeed can, but it is also not recommended.
How do I remove someone else’s Apple ID from my iPhone without a password?
Here’s how this method works.
Remove the Previous Owner’s Apple ID without a Password on Your iPhone.
Remove the Previous Owner’s Apple ID via the Recovery Mode.
Put Your iPhone in Recovery Mode.
The Restoration Process was Completed.
Click Unlock Apple ID from the Homepage.
Click Unlock Now Button.
Apple ID was Removed Successfully.
Read Also: How to Change Passcode On iPhone?
