How do you Convert Photos to PDF On iPhone?
Transforming your memories is a breeze! 📸✨ Discover how to effortlessly convert your cherished iPhone and iPad photos into shareable PDFs. 🔄📱 Learn the simple steps to ensure your images retain their quality, format, and portability, making them accessible across devices.
Various Ways to Convert Photo to PDF On iPhone
Would you like to upload a picture as a PDF? Fortunately, there are several free ways to convert photos to PDF. This feature is already built into your iPhone, so you won’t need any third-party apps to do the job. This article will teach you how to utilize your iPhone’s built-in apps and save an image file into a PDF.
Things to Be Aware Of:
- To get a preview, tap the Share icon on the image and select “Print.”
- Use the reverse-pinch gesture to zoom out once you’ve seen the preview, then hit the Share icon again.
- This time, select a location and tap “Save to Files” to save it as a PDF.
Method 1: Using the Print Options
Open Photos App
- Open the Photo app on your iPhone. This photo app symbol resembles a blossom with many hues. This app can be found by searching or looking on your home screen.
- For iPod touch and iPads, this technique is also effective.
- If you don’t already have a printer set up for this, don’t worry. You are genuinely printing nothing!
Select the Photo
- If the image you want to turn into a PDF isn’t there, you can further filter the photos by choosing an album from the list at the bottom of your screen.
- Selecting numerous images is as simple as tapping Select in the top right corner of your screen, then tapping additional photos to include them.
Tap the Share Icon
- This can be seen in the lower-left portion of your screen.
Tap Print
- When a printer icon appears, select Print.
- If you don’t see the printer icon, press More, and you should be able to find it there. It is typically in the bottom row of the “share” menu.
Zoom Out the Photo to Be Preview
- Your bottom will show the image(s) next to the print options screen. You can open the photos in a PDF viewer by “zooming out” on the image (the opposite of the “pinch” gesture).
- The images used in this stage are PDFs.
Tap the Share Icon
- This will be shown in the lower left-hand corner of your screen.
Select Save to Files
This icon in the form of a folder can be found in the bottom menu, close to the “Copy” page icons.
Tap to decide where to save.
- You can save the PDF on your iPhone or through a cloud service.
- If you save it to your phone, you’ll probably be able to choose a folder to put the photo in, like Word.
Click Save
- This can be seen in the screen’s upper-right corner. Once you hit this, the PDF of your photo will also be added to the exact location.
- The converted photos will be the first listing when you touch Recent in the Files app to access the PDF. If you can’t find them here, click Browse to go elsewhere.
- Open this PDF in Files, then hit the Send button in the bottom left corner to send it.
Method 2: Using Books
Open the Photos App
Open the Photos app on your iPhone. This symbol resembles a blossom with many hues.
Tap a Picture
- If the image you want to turn into a PDF isn’t there, you can further filter the photos by choosing an album from the list at the bottom of your screen.
- Selecting numerous images is as simple as tapping Select in the top right corner of your screen, then tapping additional photos to include them in your selection.
Tap the Share Icon
- This can be seen in the lower-left portion of your screen.
Tap Books
- This icon appears like an open book on the background of vivid orange.
- The chosen image(s) will be converted to PDF and opened in Books automatically.
- This PDF will be available later in the Files app’s “Books” section and the Books app.
Method 3: Using Files
Open Files
- Launch a file. Click the icon that resembles a folder.
To convert a picture if it isn’t already in the Files app, open it, choose the image, tap the Share symbol, and then select Save to Files.
Locate the Image
- Find the image you wish to convert. To switch the browsing location, tap the arrow next to Browse at the top of your screen.
Click and Hold the Picture
Select rather than select from the three-dot menu in the top right corner of your screen when selecting multiple photographs to convert. Once all the images you want to convert to PDF have been chosen, hit the three dots in the lower right corner of your screen to access the menu.
Select Create PDF
- This is placed next to a paper-folding icon with the letters “PDF.”
- Your images will be saved in the exact location as a PDF.
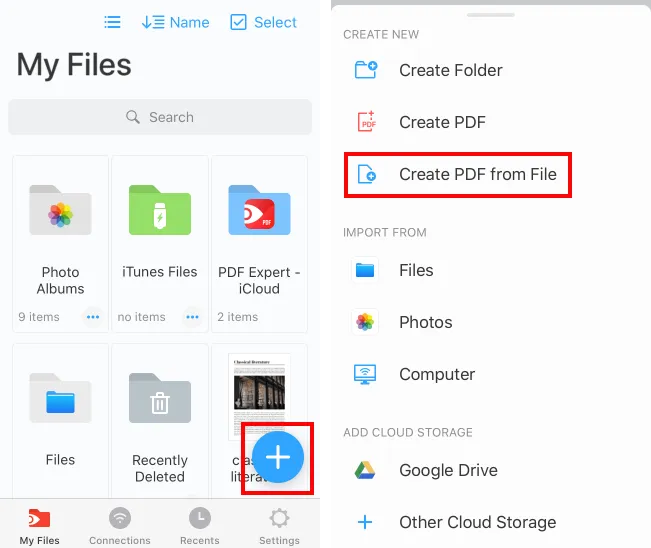
Method 4: Employ the PDF Expert App for Converting Photo to PDF
To convert photos into PDFs, there are a few third-party applications; one such application is PDF Expert. Let’s look at the app’s straightforward UI and how to use it.
You can choose the photo you want to convert to PDF by downloading and opening the PDF Expert program.
- Now select the print option from the three-dot menu.
- Tap the Share button on the following screen, press Save, and select a folder.
- The Files app can now be used to locate the PDF.
Conclusion
In this article, we have gone through how to use your iPhone or iPad to convert any photo or image into PDFs on your iPhone. These methods will be helpful for you.
FAQs
Are PDFs secure enough to save images to?
It is quick and simple to check that your file is secure and error-free by saving an image to a PDF format, which is compatible with any computer or phone.
How can I convert images on my iPhone to PDF?
On your iPhone, launch the Photos app to convert multiple photos. Open the image you want to convert to PDF or select multiple images by turning on the Select option. Once you’ve chosen it, touch the Share icon in the bottom-left corner, and select Print as you scroll down.
Can I convert multiple photos to a PDF on my iPhone?
You can convert multiple photos to a PDF on your iPhone using the built-in markup feature in the Photos app. Open the images you want to convert, tap the Edit button, and then tap the three dots in the top right corner. Select Markup, and tap the plus sign to add text or drawings to the photo. Once you’re finished, tap Done and select Save as PDF to convert the images to PDF.
Can I edit a PDF after converting it from a photo on my iPhone?
You can edit a PDF after converting it from a photo on your iPhone. You can use the built-in Markup feature in the Photos app to add text or drawings to the PDF or a third-party PDF editor app such as Adobe Acrobat or PDF Expert.
Will the quality of my photo be affected when I convert it to a PDF on my iPhone?
The quality of your photo should not be affected when you convert it to a PDF on your iPhone, but the photo’s resolution may be reduced. It is always better to keep the original photo in high resolution and then convert it to PDF.

