

How to screen record on iPhone (with sound)
iPhone has a screen recorder built in. You only need to add its button to Control Center once.
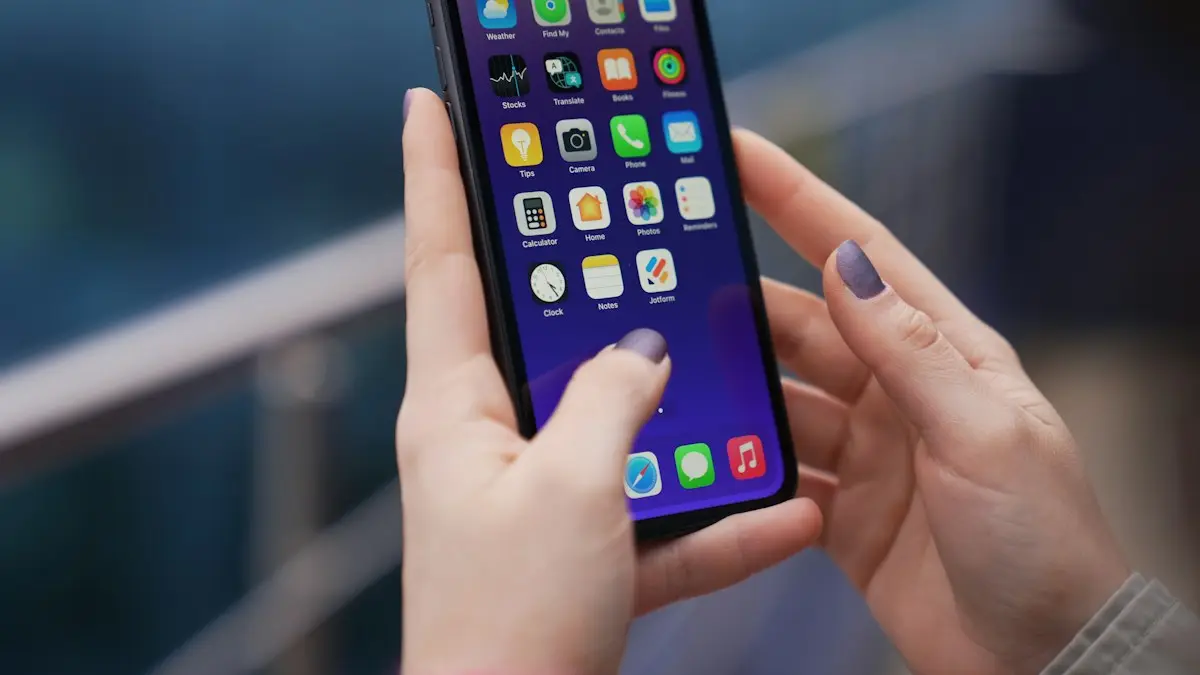
Photo by Jotform on Unsplash
The fix
Step 1: add Screen Recording to Control Center
You only need to do this once.
- 1
iOS 18 and later.
Swipe down from the top-right corner, tap + in the top-left corner, then tap Add a Control and choose Screen Recording.
- 2
iOS 17 and earlier.
Go to Settings › Control Center and tap the green + next to Screen Recording.
The fix
Step 2: record your screen
- 1
Open Control Center.
- 2
Tap the Screen Recording button.
It looks like a filled circle inside a ring.
- 3
Wait for the three-second countdown.
A red indicator appears at the top of the screen while you record.
- 4
To stop, tap the red indicator and then Stop.
Find and trim your recording
Open the Photos app. Your recording is at the bottom of your Library, and in Collections › Media Types › Screen Recordings. Tap Edit to trim the start and end before you share it.
What Screen Recording captures (and what it does not)
Screen Recording saves everything that appears on your display as a video, plus the sound that the phone itself plays. That includes apps, menus, the Home Screen and notifications that pop up while you record. It does not capture your voice unless you turn on the microphone, and it does not capture some protected content. Calls are a special case: the other person's voice does not record from a normal call, and a phone call can end your recording. The recording stops on its own if you run out of storage.
Tips for a clean recording
- Turn on Do Not Disturb or a Focus first, so notifications do not show up in your video.
- Charge the phone above 20%. Long recordings use battery quickly.
- Check free space in Settings › General › iPhone Storage. A minute of recording often takes tens of megabytes, and more at higher quality.
- Close apps you do not need so the phone does not slow down while it records.
- Rotate the phone before you start, because turning it halfway can leave black bars.
Record sound from the app and your voice
By default, the recording includes the sound the app plays. Press and hold the Screen Recording button in Control Center and turn on Microphone to add your voice. When the microphone is on, the recording also picks up sound from the speaker, so a quiet room gives cleaner audio. If the sound is missing, check the volume and the Ring/Silent switch, and see whether the app itself is muted. If your voice is missing even with the microphone on, the problem may be the mic, so try fixing a phone microphone that does not work.
Screen record a call, a game or a streaming app
Games and most social apps record fine. Many streaming apps such as Netflix, Disney+ and Apple TV show a black screen on purpose, because the studios block copying. Banking apps often do the same. Do not look for ways around this. For a call, FaceTime and video calls record your screen, but the audio rules differ, and you should tell the other person you are recording. Laws on recording conversations differ by state, and some require everyone's consent.
Find, trim and share your recording
Open Photos, then Albums, scroll to Media Types and tap Screen Recordings. Tap the video, then Edit, and drag the yellow handles to cut the beginning and end. Tap Done and choose Save Video, or Save Video as New Clip to keep the original. To share, tap the share button. Long videos are big, so use AirDrop, iCloud Link or a service such as Google Drive. If a message will not send the video, trim it or send a link. The Photos app can also tidy up the file size, which helps if you are short of space. See freeing up iPhone storage.
Screen Recording is missing or greyed out
- Check Settings › Screen Time › Content & Privacy Restrictions › Content Restrictions › Screen Recording. If it is set to Don't Allow, change it.
- Add the button again from Control Center. On iOS 18 and later, tap + in the top-left corner and choose Add a Control.
- Restart the phone and update iOS in Settings › General › Software Update.
- If the phone is managed by work or school, an administrator may block it.
Our guide to Screen Time not working explains how restrictions can hide features.
The recording stops, freezes or fails to save
If you see the message Screen recording failed to save, the phone is usually low on storage or hit a software bug. Free some space, restart the iPhone and try a short test recording. If the video saves but plays without sound or with stutter, close other apps and record again. On older iPhones, recording a heavy game can strain the processor, so lower the game's graphics settings. Updating iOS fixes many of these bugs. If the phone runs slowly in general, see speeding up a slow iPhone.
Screen recording or a screenshot?
A screenshot is better for a single screen, such as an error message or a setting. A recording is better for steps, a bug that moves or something that changes over time, like a scrolling page. If you only need one image, take a screenshot instead, and the file will be much smaller. Android and Samsung users can use the matching guide: screen recording on a Samsung phone.
Why people record their iPhone screen
- To show a family member how to change a setting, instead of explaining it over the phone.
- To save proof of a bug, an error message or a scam text for support.
- To keep a video, a story or a call that has no download button, where the app and the law allow it.
- To make a tutorial, a game clip or a work demo.
Record the screen on older iPhones and iPads
The steps are the same on an iPad and on any iPhone that runs iOS 11 or later. On an iPhone with a Home button, swipe up from the bottom of the screen to open Control Center. On iPad, swipe down from the top-right corner. On iOS 17 and earlier the button is added in Settings › Control Center, and on iOS 18 and later you edit Control Center directly. If the button looks different, it is the same circle inside a ring.
Record a quick clip with a shortcut
You can also start a recording with the Action button on newer iPhones. Open Settings › Action Button, swipe to Control and choose Screen Recording. On iPhones with Back Tap, go to Settings › Accessibility › Touch › Back Tap and assign Screen Recording to a double or triple tap. Both save time if you record often. Siri can also do it: say start screen recording.
Make the video smaller before you send it
A long recording can be hundreds of megabytes. If a message app refuses it, trim it in Photos, send it with AirDrop to a nearby Apple device, or upload it to iCloud and share a link. You can also open the video in the Photos app, tap Edit, and use Save Video as New Clip after cutting out the parts you do not need. Deleting the original afterward frees space. Remember that deleted videos stay in Recently Deleted for 30 days unless you empty that album.
Finally, remember that anything on screen is recorded, including passwords you type and private messages. Check the video before you share it, and trim or blur anything personal.
Frequently asked questions
Why is my iPhone screen recording silent?
Screen recording captures app sound but not your voice by default. Press and hold the Screen Recording button in Control Center and turn on Microphone. Also check the phone is not in Silent mode, which mutes some app sounds.
Why does my screen recording show a black screen?
Streaming apps such as Netflix and some banking apps block screen recording to protect their content. This is intentional and cannot be changed.
Where are screen recordings saved on iPhone?
In the Photos app, in your Library and in the Screen Recordings album under Media Types.
Can I screen record on iPhone with the screen off?
No. Screen Recording captures what is on the display, so the screen must be on. If the screen locks, the recording usually stops.
How long can I screen record on an iPhone?
There is no fixed limit. The recording continues until you stop it or the phone runs out of storage or battery.
Related guides
Clean a SIM card on iPhone
Clean an iPhone SIM card and tray safely with a dry lint free cloth. Learn what to avoid, how to test the SIM, and when to get a new one if your iPhone says No SIM.
Move iCloud backup to Google Drive
You cannot move a full iPhone backup from iCloud to Google Drive, but you can move your photos, files, contacts and calendar. See each method and what to expect.
Find APN settings on iPhone
Find APN settings on your iPhone in Settings › Cellular › Cellular Data Network. Learn why the menu can be missing, what each field means and how to reset it.
How to tell if an iPhone is fake
Check if an iPhone is genuine before you buy. Use the serial number on Apple's Check Coverage page, match the IMEI, review Parts and Service History and check Activation Lock.
More guides you may need
Delete Gmail emails by sender
Delete all emails from one sender in Gmail at once on a computer, or in the phone app. Plus a filter that trashes their future emails automatically.
Find APN settings on iPhone
Find APN settings on your iPhone in Settings › Cellular › Cellular Data Network. Learn why the menu can be missing, what each field means and how to reset it.